
How to make paper mache (papier-mâché)
")
Posted July 15, 2023 by: Admin
Learn to create paper-mâché masterpieces, a delightful DIY project that transcends age barriers. Transform simple objects into stunning works of art with this versatile technique. Once dry, your creation will resemble the timeless allure of terracotta or ceramic. You’ll discover the perfect opportunity to relax and unleash your creativity, whether it’s a peaceful moment alone or an exciting activity to enjoy with your children or grandchildren. Enjoy the satisfaction of tinkering together and let your imagination run wild with papier-mâché.
A short history of papier mâché

Papier-mâché, a versatile art form, encompasses various techniques involving the use of glued paper. It can be achieved by layering paper strips or kneading a pre-made paste. Its origins can be traced back to ancient China, where innovative craftsmen combined paper, plaster, water, and glue to fashion helmets, among other items. Their application of lacquer added strength, resulting in magnificent lacquered objects like chests and vases.
As paper trade reached the Western world, the papier-mâché technique gradually gained popularity in Europe. Throughout the centuries, its uses and recipes evolved. In the 17th century, the southern Italian town of Lecce excelled in “cartapesta,” their name for papier-mâché.
In 1772, British inventor Henry Clay patented a new recipe utilizing paper, flour, and glue, leading to the creation of luxurious objects. Papier-mâché became a favored medium among English aristocrats and later democratized in the 19th century, with dedicated factories emerging. However, the arrival of plastic in the 20th century diminished its prominence.
What you need
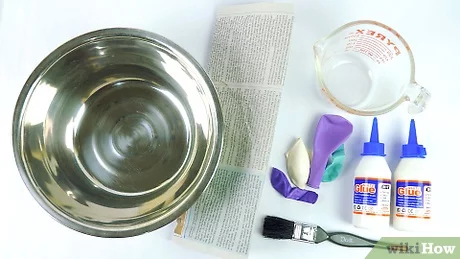
Set your artistic skills free and get started with papier-mâché! With a dash of creativity and a handful of easily accessible materials, you can create your own masterpieces. Here’s a simple guide to get you started:
- Gather the essentials: You’ll need a saucepan, a bowl-like container and a whisk.
- Get paper: Dig into your collection of old newspapers, books and small cardboard boxes like toilet rolls or cereal boxes.
- Choose your glue: Opt for wallpaper paste or make your own using a healthy and economical homemade recipe, which is also safe for children.
- Find a solid base: Consider using a balloon or other suitable structure as a base for your creation.
Now let your imagination run wild! Shape and mold the glue-soaked paper onto your base, layer by layer. Let it dry completely between each addition. Once your papier-mâché creation is completely dry, you can paint and decorate it as you wish.
Make your own glue
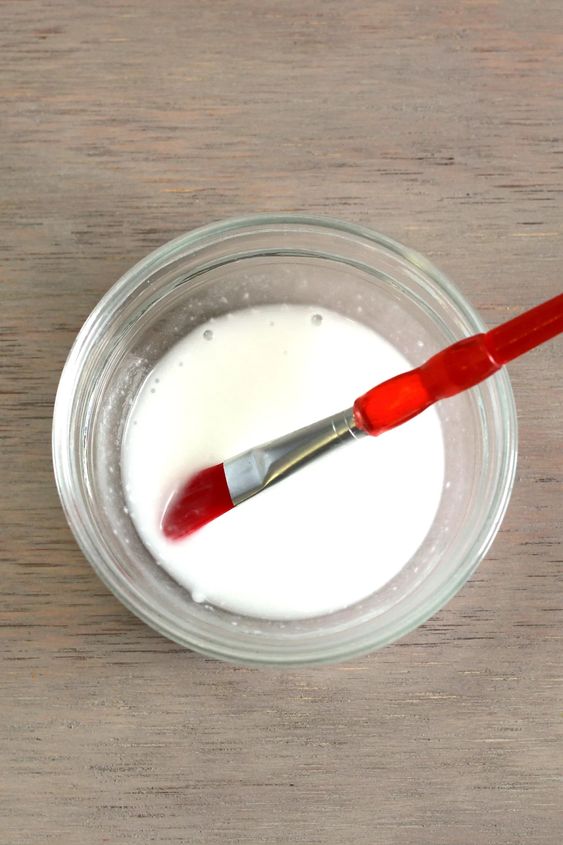
If you’re planning to engage young children in papier-mâché projects, it’s advisable to use homemade glue, which is safer for them to handle. Here’s a simple recipe:
Materials:
- 5 parts water
- 1 part flour
Steps to follow:
- Take a container and pour one part of flour into it.
- Add one part of water to the container and stir well until you achieve a smooth and consistent mixture.
- In a saucepan, heat the remaining four parts of water until it reaches a simmering point. Avoid boiling it.
- Slowly add the water and flour mixture from the container into the saucepan, while stirring continuously.
- Keep heating the mixture for a few more minutes, ensuring you stir it constantly.
- Once the mixture starts thickening, it is ready.
- Allow the homemade glue to cool down completely.
- Transfer the glue into an airtight jar for storage. It can be stored for 3 to 5 days.
Now, you have a child-friendly and economical glue for your papier-mâché adventures. Enjoy creating wonderful crafts together and let your imaginations soar!
Making a papier-mâché sculpture

Once your homemade glue is prepared, it’s time to delve into the exciting process of creating your papier-mâché masterpiece. Follow these steps:
- Tear the paper into various shapes and sizes according to your preference. You can opt for large strips, squares, or any other creative shapes.
- Dip each piece of torn paper into the glue, ensuring that every part is fully coated. Make sure no area is left exposed.
- Once you remove the papers from the glue bath, gently squeeze and run your fingers along each piece to remove any excess glue.
- Layer the glued paper strips onto your planned structure. You can also shape a bowl or dish by inverting a salad bowl.
- Allow your creation to dry completely. This may take some time, so be patient.
- If desired, carefully remove the dried papier-mâché from the mold or structure.
- Now, it’s time to add your personal touch. You can paint, varnish, or leave your object in its natural state, depending on your artistic vision.
Let your imagination guide you as you bring your papier-mâché creation to life. Enjoy the process, and embrace the joy of crafting something unique and beautiful!


